CVR(T) Repairs
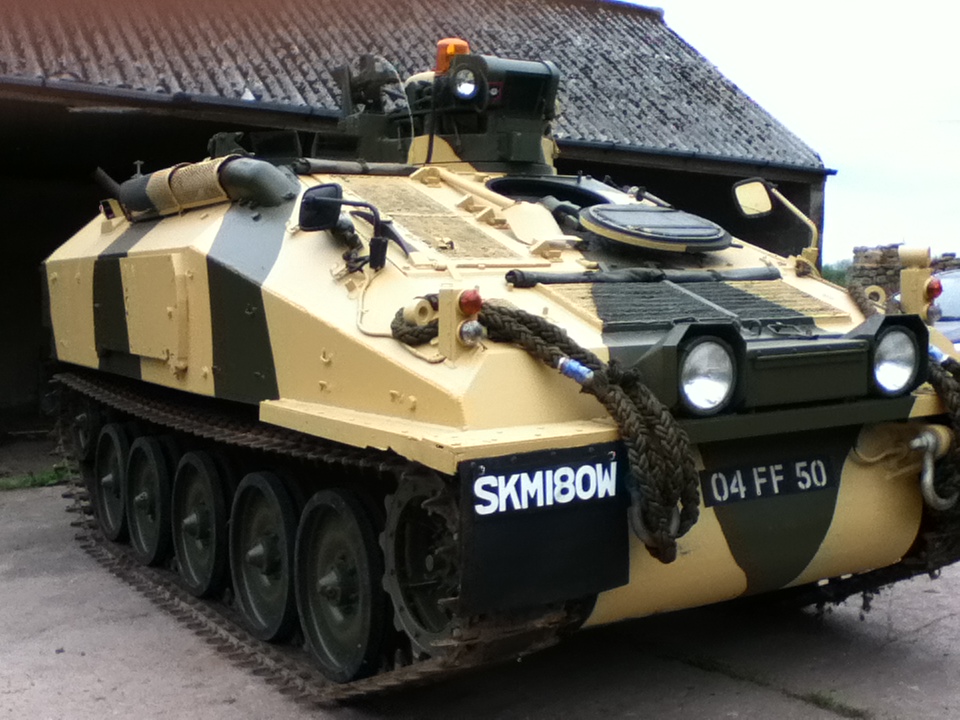
Tony Martin has a CVR(T) that has been seen in many of the shows around the North west. Here he explains some of the repairs he has had to carry out.
CVR(T) SPARTAN driveshaft swap PART 1
The tale begins with a quick visual after a run. There are certain `safety critical` components on Armour which must be monitored...... open deck hatches and look at everything........ so where`s that lump of rubber from then? Mmmm...... Adopting the usual upside down position established that it was from one of the donuts - flexi rubbers at either end of the driveshaft between flywheel and gearbox input shaft. If this unit fails it swings around the engine bay causing loads of damage but (worse)....... you have now lost drive to the tracks and can`t steer. Potentially lethal.
So it is now `vehicle dangerous` and stationary until job done. Knowing I`m due for an`op` I have to get on with this.
The fun of owning Armour is that jobs in engine bays usually mean a major strip down! So.... unbolt and lift off top deck (thanks to Farmer John), remove drivers seat unit then the firewall and all sorts of smaller bits. Coffee.... while working out the minimum number of items to take out next. As with everything else a lot depends on the equipment you have and pairs of hands available.
At the barn I have nothing so work is done the laborious way.....but, hey, that`s where the fun is!
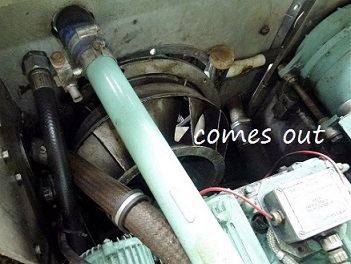
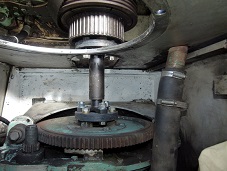
The driveshaft lies under the fan unit. It is just possible, with air tools and Guchi kit, to do a straight swap without taking this out but as I did not know what else I might find...yippee...out it comes.
More coffee...... because the fan bolts to the front bulkhead, which has to be moved. More coffee... then I choose to ease (thrutch) the bulkhead forward rather than lift it out (no crane). This means removing all bolts round the edge.. ahh..5 missing..but ,crucially, one bolt lies under the drivers footplate.
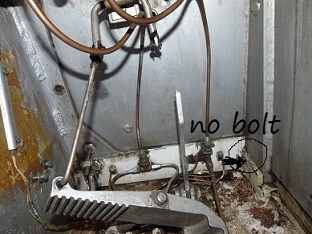
More coffee.....because access to this bolt entails removal of steering levers, brake and throttlepedals and linkage...down on the poor old knees then take out floorplate to find.....no bolt. Sod! Someone has taken another shortcut. More coffee...... now the bulkhead has to be levered forward and wedged to allow the ton-weight fan unit to be wiggled out vertically on the end of a gorillas arm.
The driveshaft can now be removed
So far this has been a tiring job.......all heavy, awkward or both (remember the bit about the equipment you have ?) Serious intake of coffee and ginger nuts required!
Test fitting the shaft with a new donut shows alignment problems...... you would have put money on it wouldn`t you! Top tip here - if you have not done the work on your vehicle don`t assume it has all been done right. In the case of the Spartan no private owner has messed with it but it was with a dealer for a while! `nuff said!
... things look very wrong, so need checking. The CVR(T) range with the Jag engine allows for rotation of the gearbox and vertical/lateral movement on the front engine mounts (all with shims) .This should achieve near perfect alignment for the smooth transfer of power from engine to drive. Hardy Spicer joints were dropped in favour of rubber donuts to increase smooth operation. They were only just sufficient for the Jag power so the job needed a degree of care if the rubber was not to fail 10 miles down the road. Everything will run, for so long, out of line but eventually the heat build-up causes early failure.
Have you guessed what`s coming next yet..........?
1. Gearbox shimmed at wrong height.
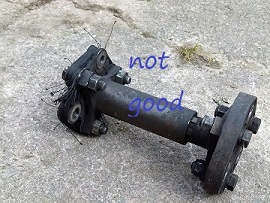
2. Driveshaft (it`s in two halves) bent.
3. Engine mounts - no shims.
More coffee and ginger nuts...........blue air clears....more coffee.
The engine has just been thrown back in to get it moving at some point in the past (no technical expertise applied.....).
So. more delay........source new shaft, 2 new donuts (these should be sealed in black plastic otherwise they may have a halflife of an Aldi gingernut), new bolts, new fan drivebelt and generator belt.
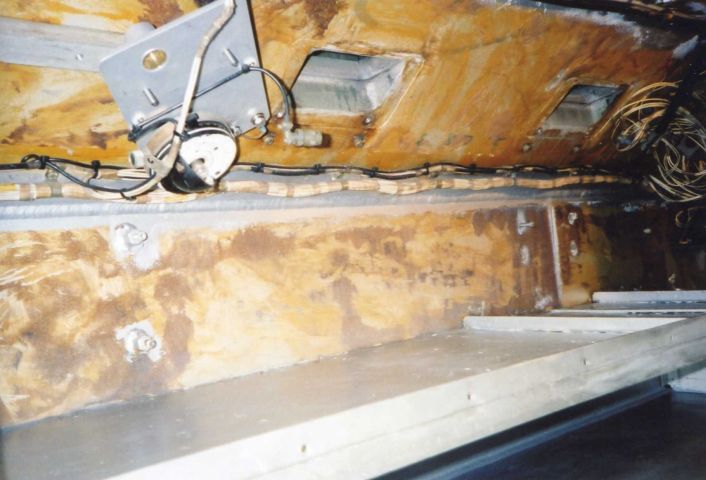
At this point you can get at all sorts of things otherwise inaccessible. Time for a tidy and clean while also checking hydraulic lines, clips, joints etc.
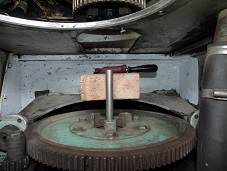
Now to sort alignment....First the gearbox. The centre of the clutch input shaft should be 9 and 15/16 from the hull floor. Done. Engine next. Without a hoist there is a tedious way forward...... that`s for me!...... more coffee then make a start.
I won`t put you through the whole procedure but it entails jacking the engine up and down, trying shims, while test fitting the driveshaft many times over until all the mounting bolts are a loose fit and the halves slide on each other. ("my Kingdom for a hoist")
This is all done while lying across the engine, arms dangling down. Top tip No2.... aquire lots of thick padding.
Once everything is tight (and loctited) then strong drink can be taken following a job well done, and the more so because you remembered to fit the new belts before the final driveshaft fit! Well done!
More coffee........ and a bit more.... refit the fan then everything else in reverse order. Double check at each stage.
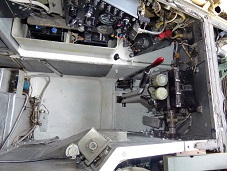
Part assembled and looking cleaner......
If you feel that your life has been missing this sort of excitement....... then you are very sad!
Tony
To put the above repairs in context Tony has provided the story and pictures of how and why he came to acquire the CVRT. Over to you Tony.
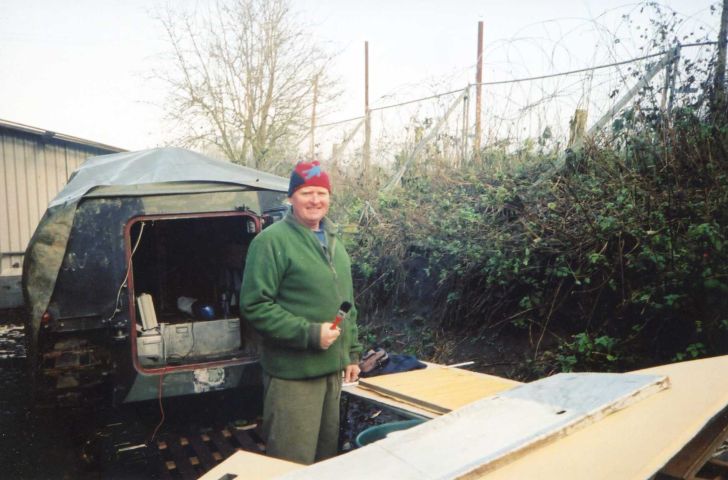
After a number of Ferrets and a Saracen I fancied a bit of tracked Armour, ideally with work to do but not a basket case as facilities are limited. I found this one in Kent, got a friend down there to have a look then did the deal on the phone.
Marston Airfield could not be further away so it took a few phone calls to co-ordinate collection, mostly to fit in with one of my lads who was training on new Diesel Spartans at Bovington. He turned up to be faced with this petrol beast that we hadn`t seen before. Much excitement as it started - on the low loader and away to the yard owned by friends down there where it would spend the next 8 months.
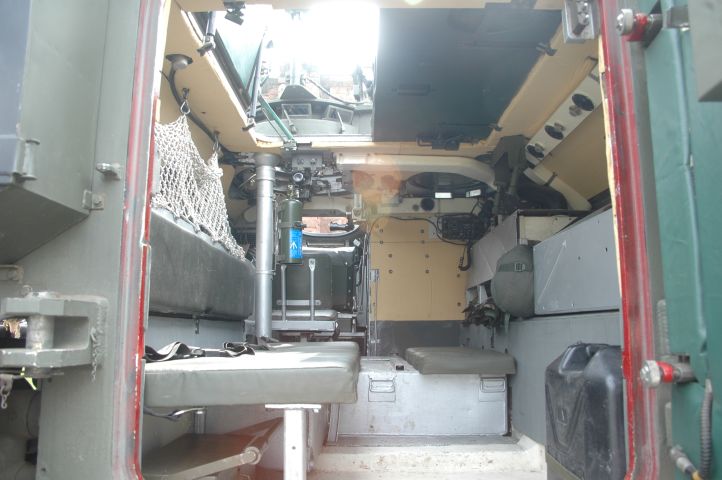
All the bits and pieces that bolt on were in boxes thrown in the back. Trips up and down to Kent followed, sorting out bits, doing the internal painting, replacing all the padding, rebuilding then painting the outside.
First outing was at Beltring where I was offered a derisory amount as it was `going to cost a lot to ship it to Australia`. No thanks, Skippy!
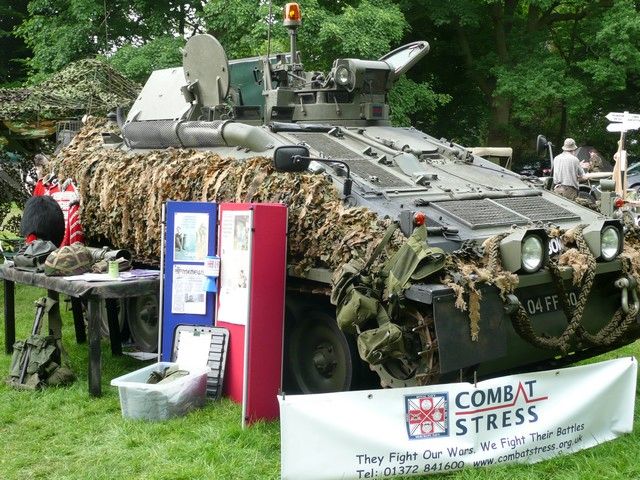
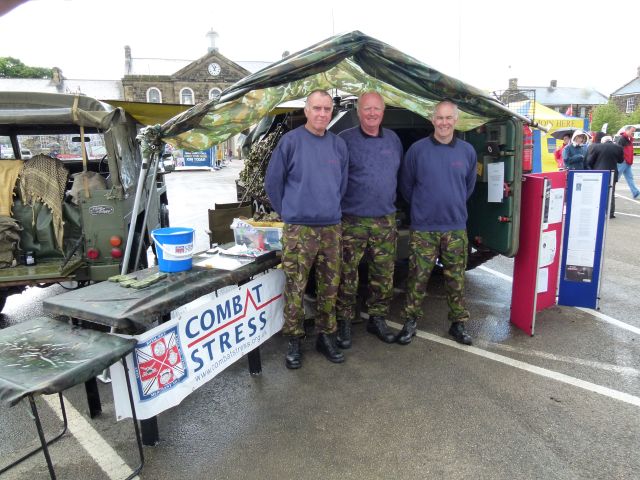
Back up North I was lucky to be offered a space in a barn, in part because I had decided to use my outings to raise funds for Combat Stress, and this gave reasonable access to the various events in our area.
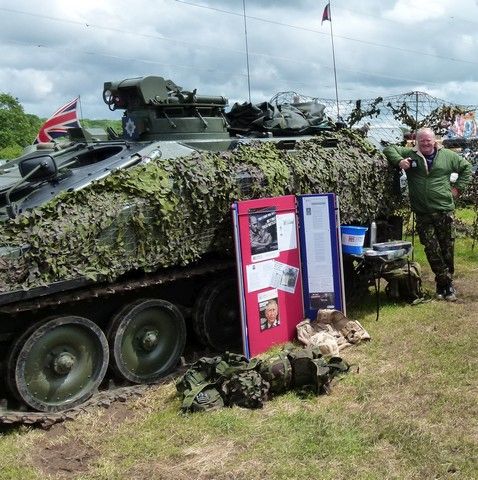
Among these early shows was the excellent Hornby Castle with Mike Gallagher commanding, Rawcliffe Hall, Preston Military Show and Scorton (the hot, dry one!)
If anyone has forgotten Scorton (wet) this was it.........
Along the way various bits have been replaced/upgraded - in particular the rebuilt final drives (turn the track). I have been fortunate in that hardly anything has `gone wrong`. The big problem with the petrol versions is keeping clean new fuel pumping through. The fuel tanks are too big so you get condensation (water and petrol don`t mix) - I run mine on new fuel fed from jerry cans, no more problems.
A winter was spent at the ill-fated Millom Air Museum.

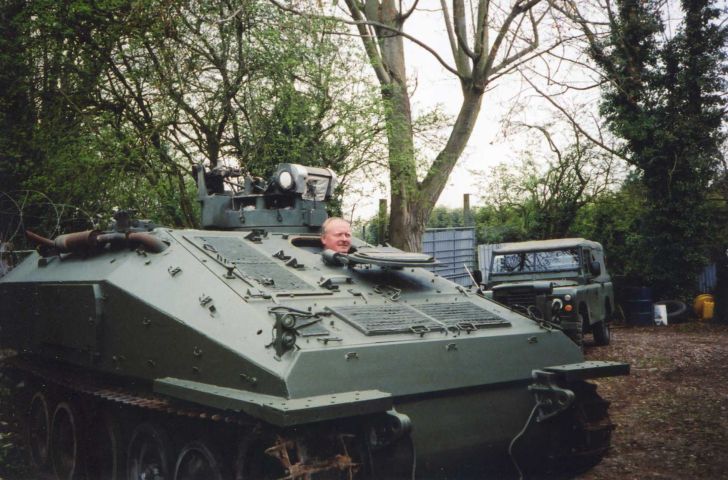
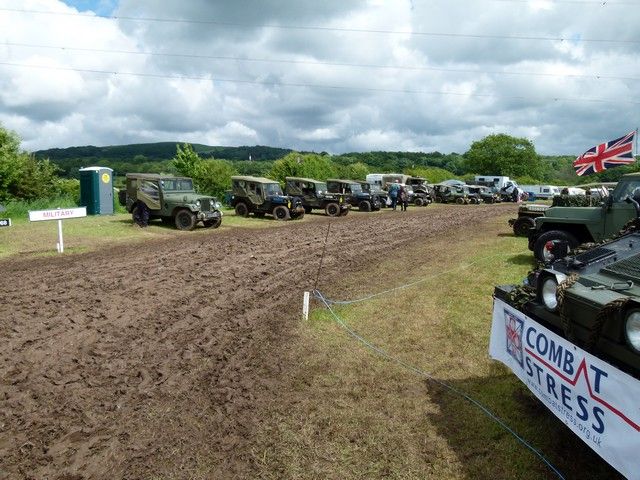
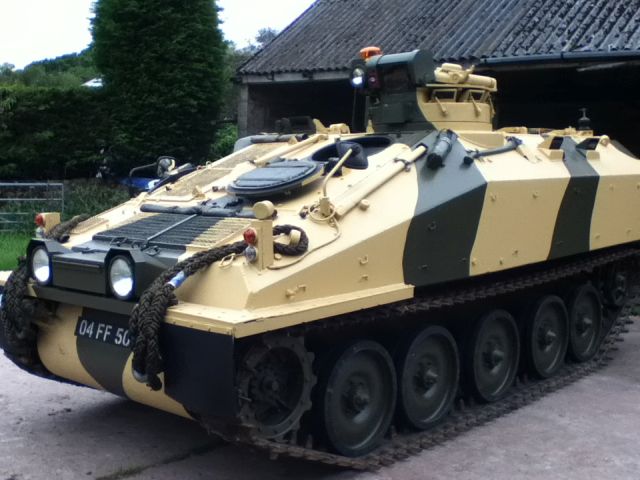
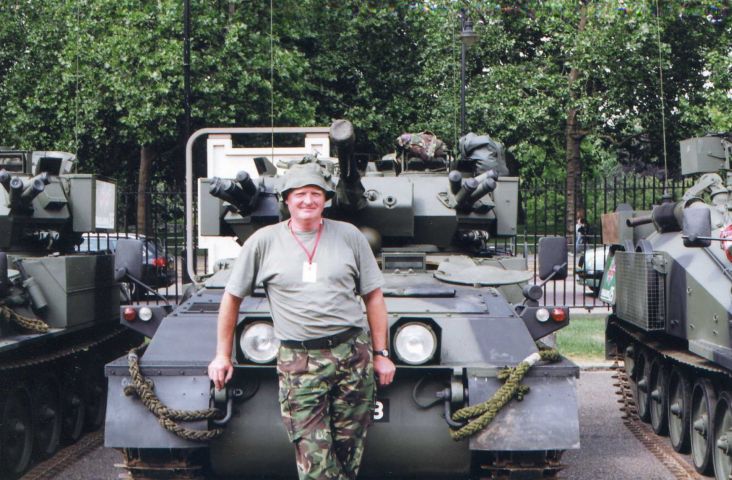
Preston Military Show (pic below) and in current paint (pic below that)
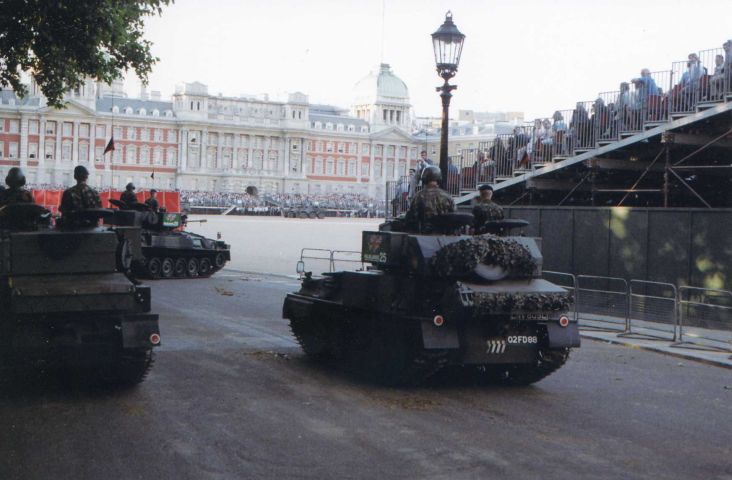
I include these last two for interest as I did the Household Cavalry Pageant in CVR(T)s, in the last we are just turning into Horseguards where HM the Queen took the salute. One of the drivers managed to change down a gear instead of changing up (nose dive!) - all good for a laugh - but not his nerves.
Tony